It’s crafting season you guys. Fall always gets my creative juices flowing so today starts the beginning of a new Fall DIY Series where I will be sharing with you a new DIY tutorial every week to help get you in the mood for fall decorating.
Fall Hoop Wreath

For the first week in the series, I’ve decided to start with my Fall Hoop Wreath. This is an easy project that requires minimal supplies and can be customized to your liking. You all have no doubt seen these hoop wreaths all over Pinterest and IG and today I’m going to share with you my take on the Fall version.
Grab Your Supplies
You will need:
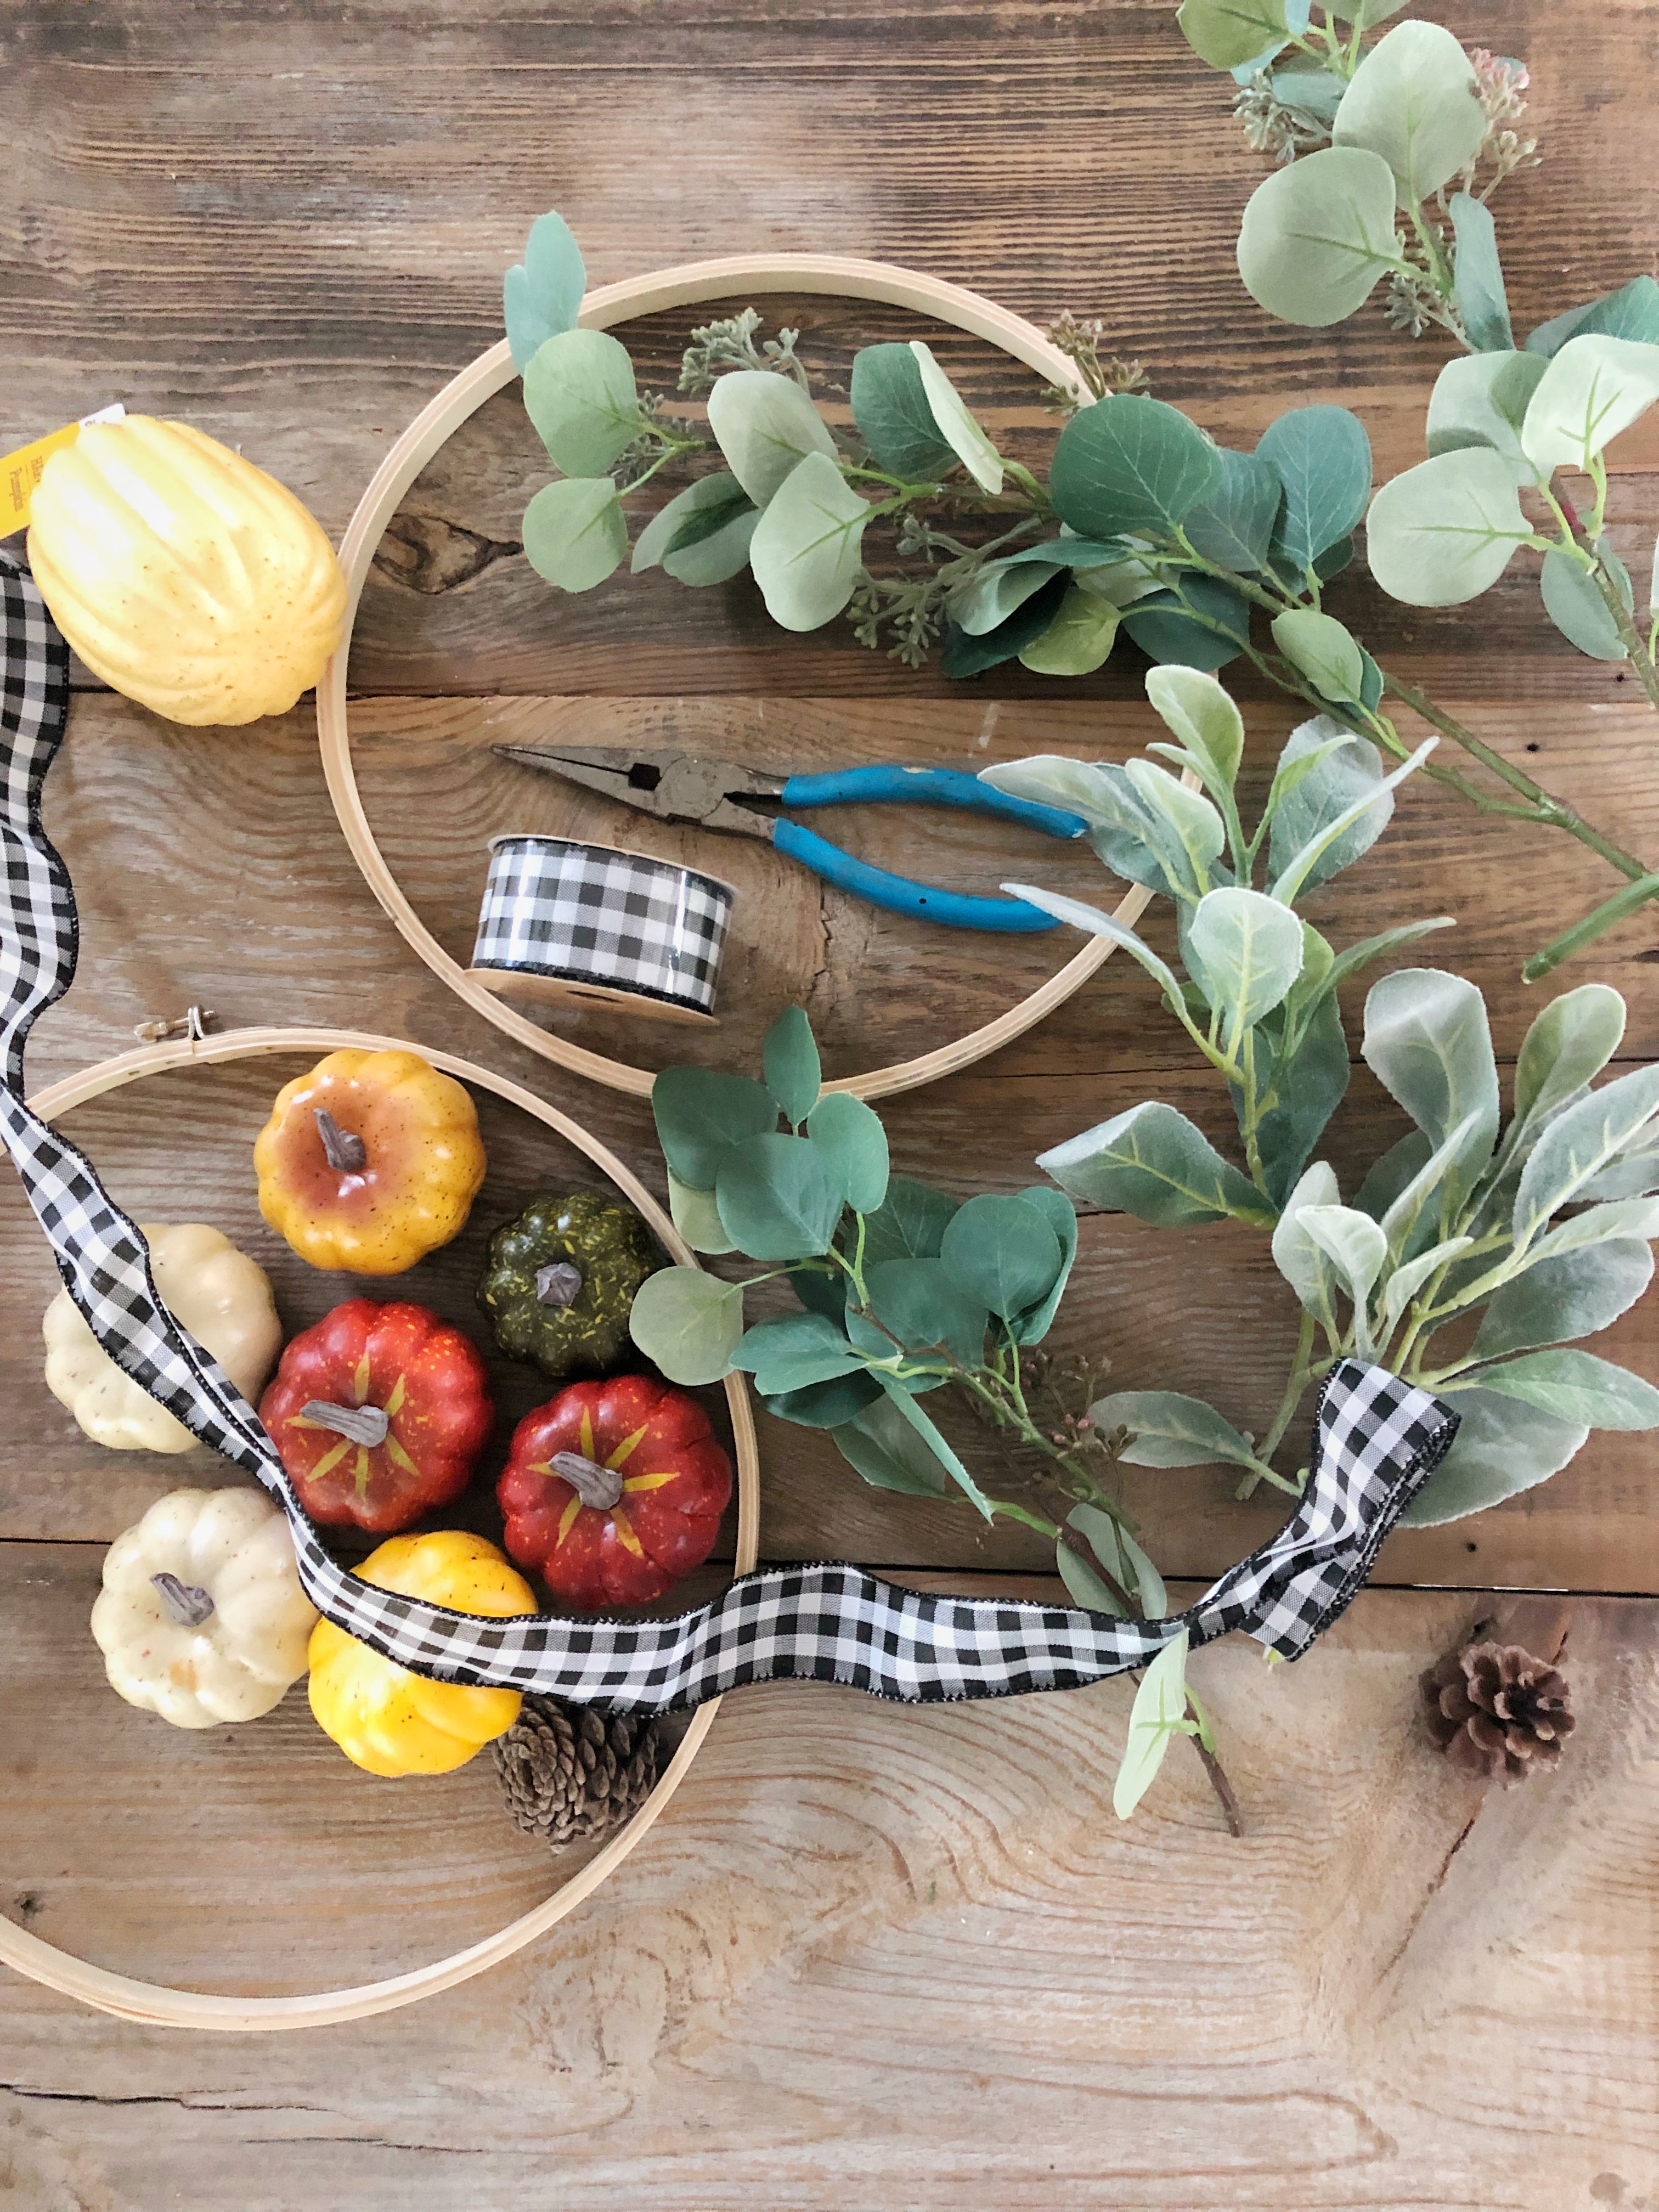
- Mini pumpkins and pinecones (I found mine for $3.00 at Dollar General)
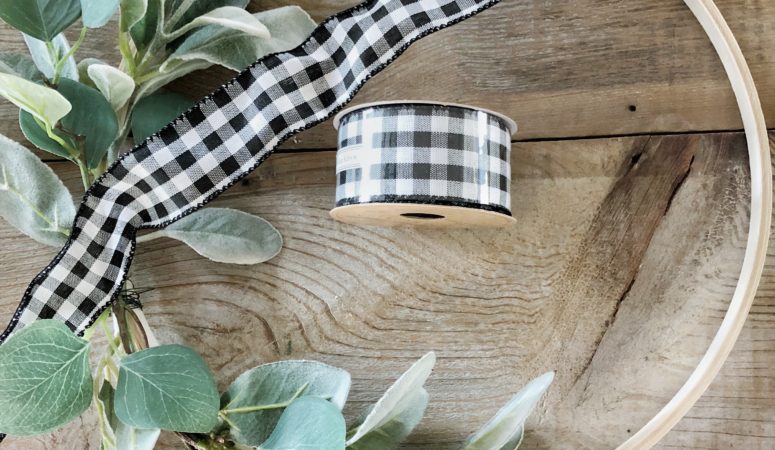
- Embroidery hoop 12 inches (choose what size works best for you)
- Stems (I used faux lambs ear and seeded eucalyptus found at Hobby Lobby)
- Floral wire
- Hot glue gun
- Craft paper
- Sharpie
- White very fine paint pen
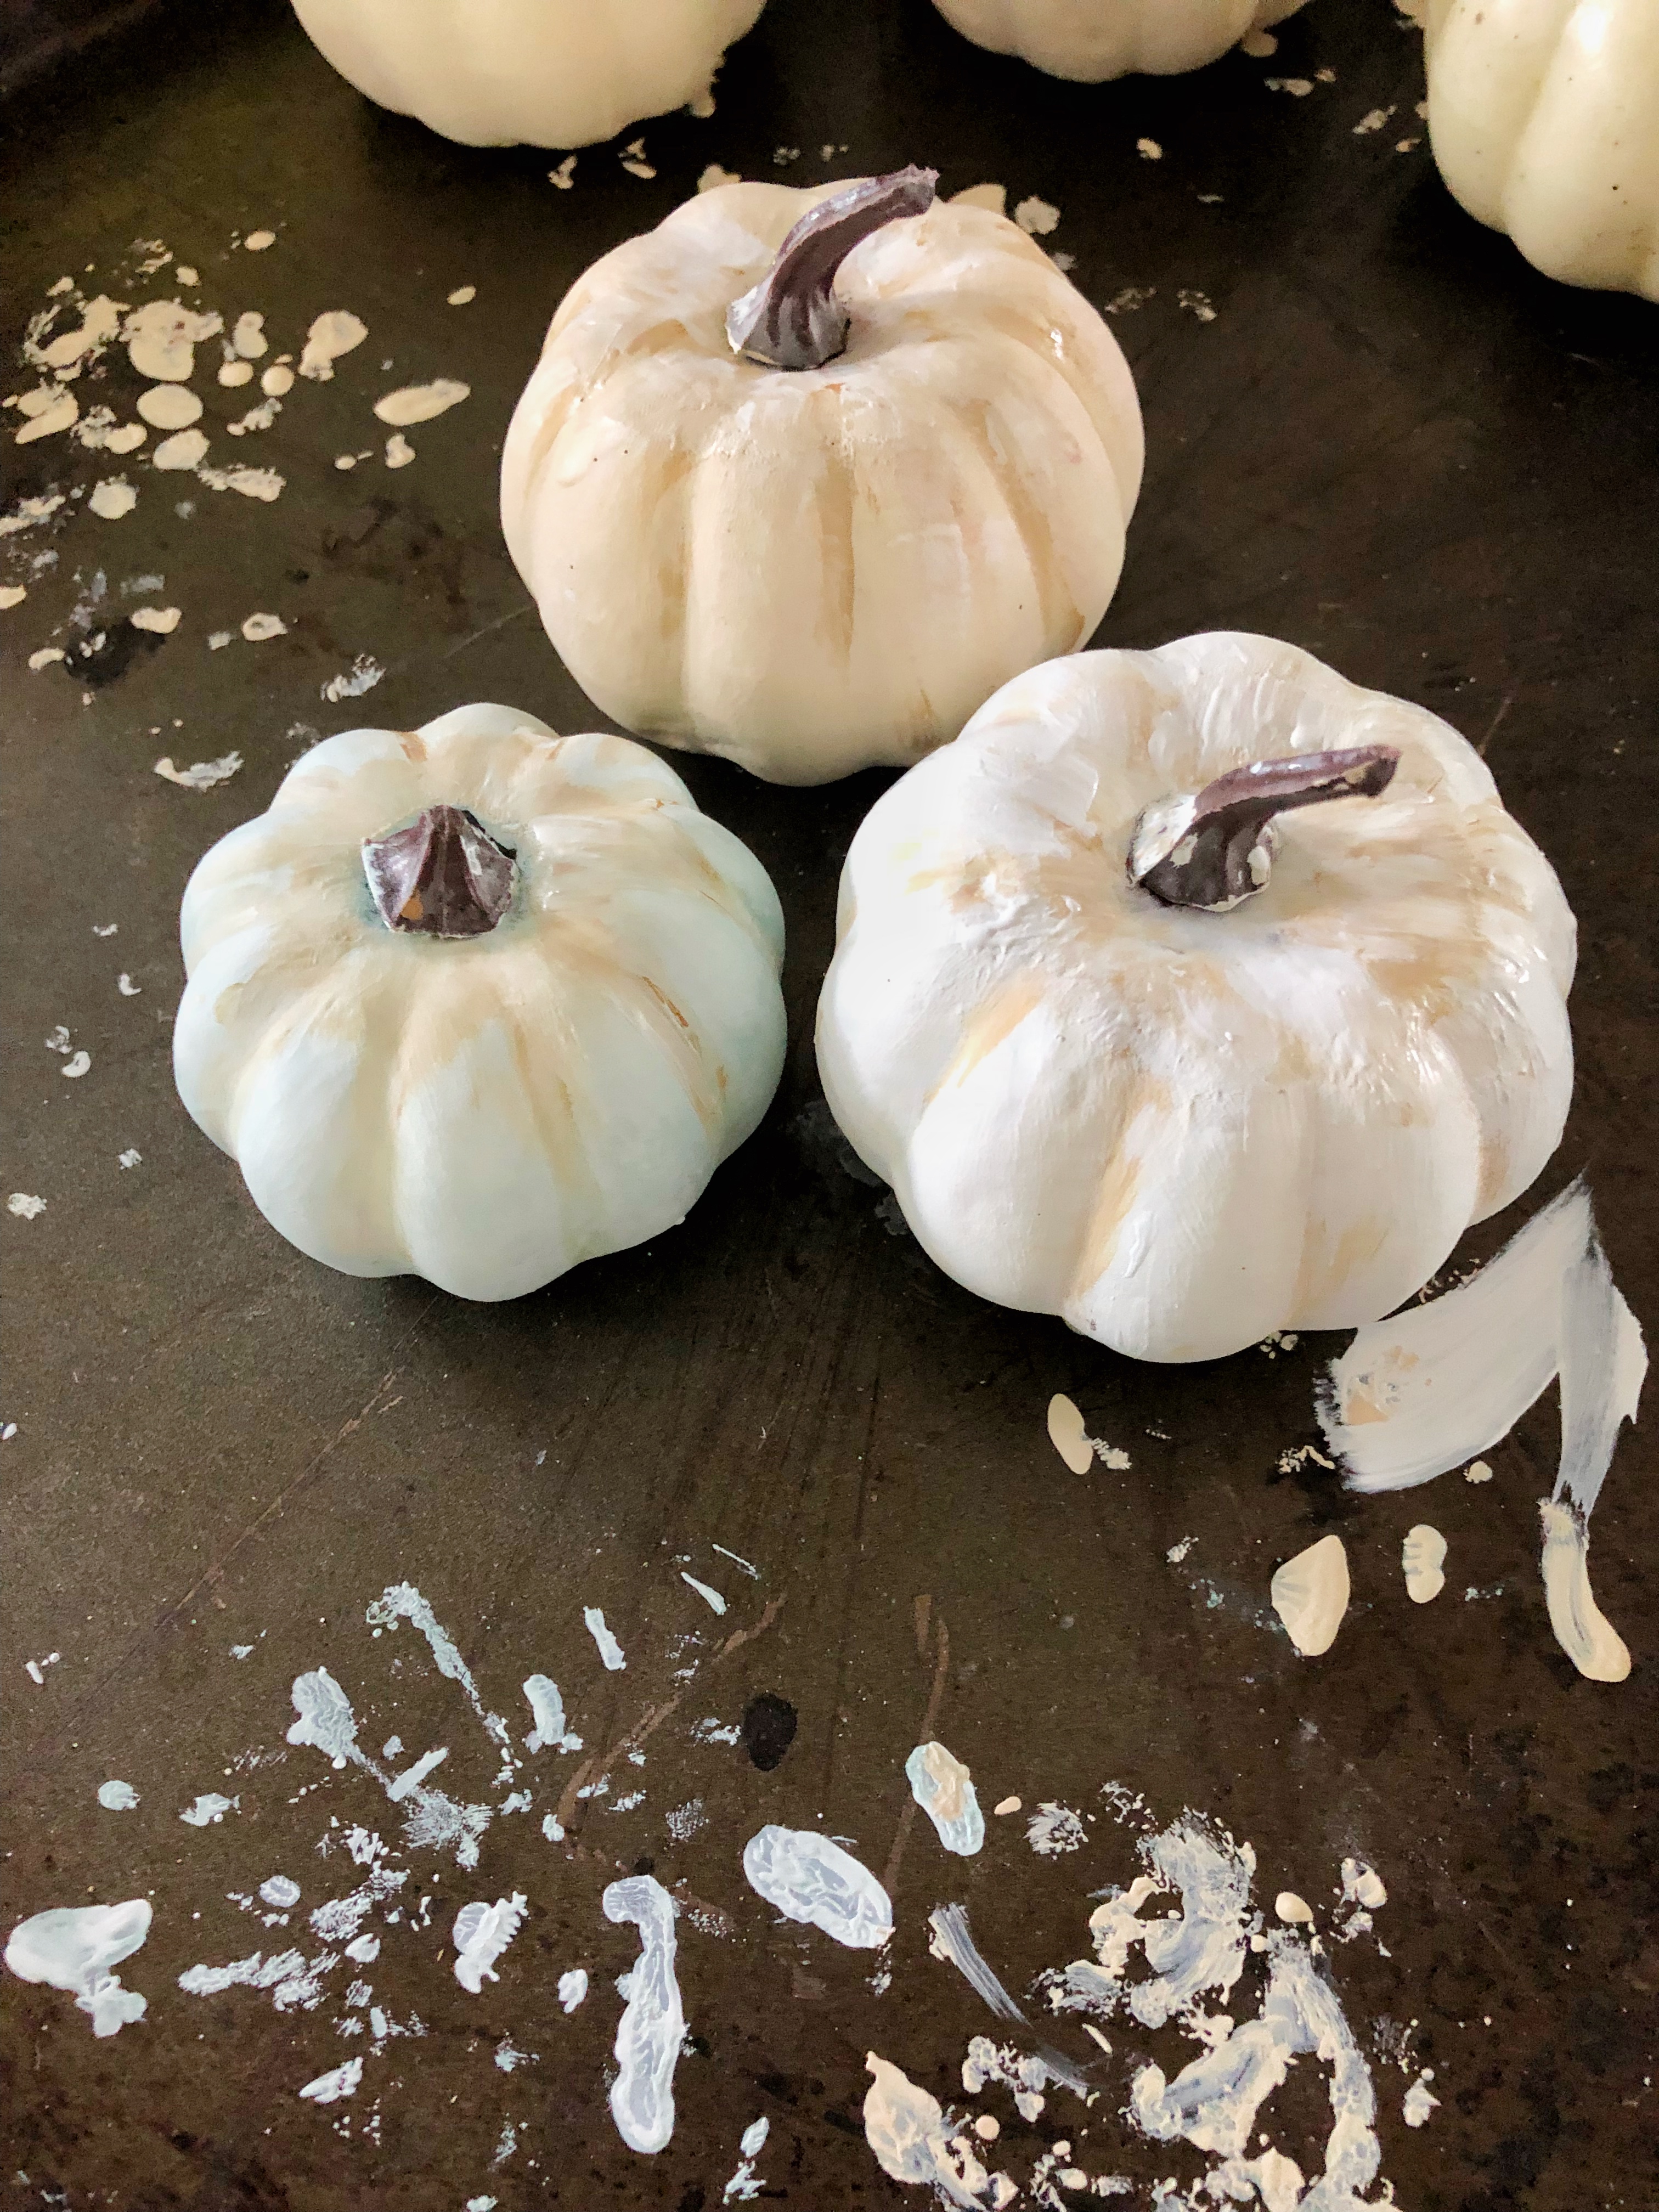
- Chalk paint (I used Wavery brand in White, Cashew & Hazlenut found at Walmart)
- Buffalo check wired ribbon (Found at Hobby Lobby)
- scissors
Let’s Get Started

First things first. I chose to go with a neutral pumpkin which required painting them. This is purely an individual choice. You can leave yours orange if you like. However, if you choose to paint them, you can see my painted pumpkin tutorial right here. I like to use different shades of white to give the pumpkins more dimension.
I thought originally I would use three pumpkins because I like to follow the old adage when decorating to use an odd number, at least that’s what I was always taught, but because my hoop was small, I ignored this theory and only used two. Your hoop may be a different size so you do what works best for you.
All Wired Up

Once your pumpkins are painted, it’s time to get all wired up. We can start assembling. This is when I plug in my glue gun so it will be ready and I take apart the embroidery hoop. Lay out your stems first, I start with the lamps ear. I cut mine down to size and then I used my floral wire to start attaching them to the hoop. Once they were secure, I grabbed the seeded eucalyptus and followed the same steps.

Grab Your Ribbon And Pumpkins
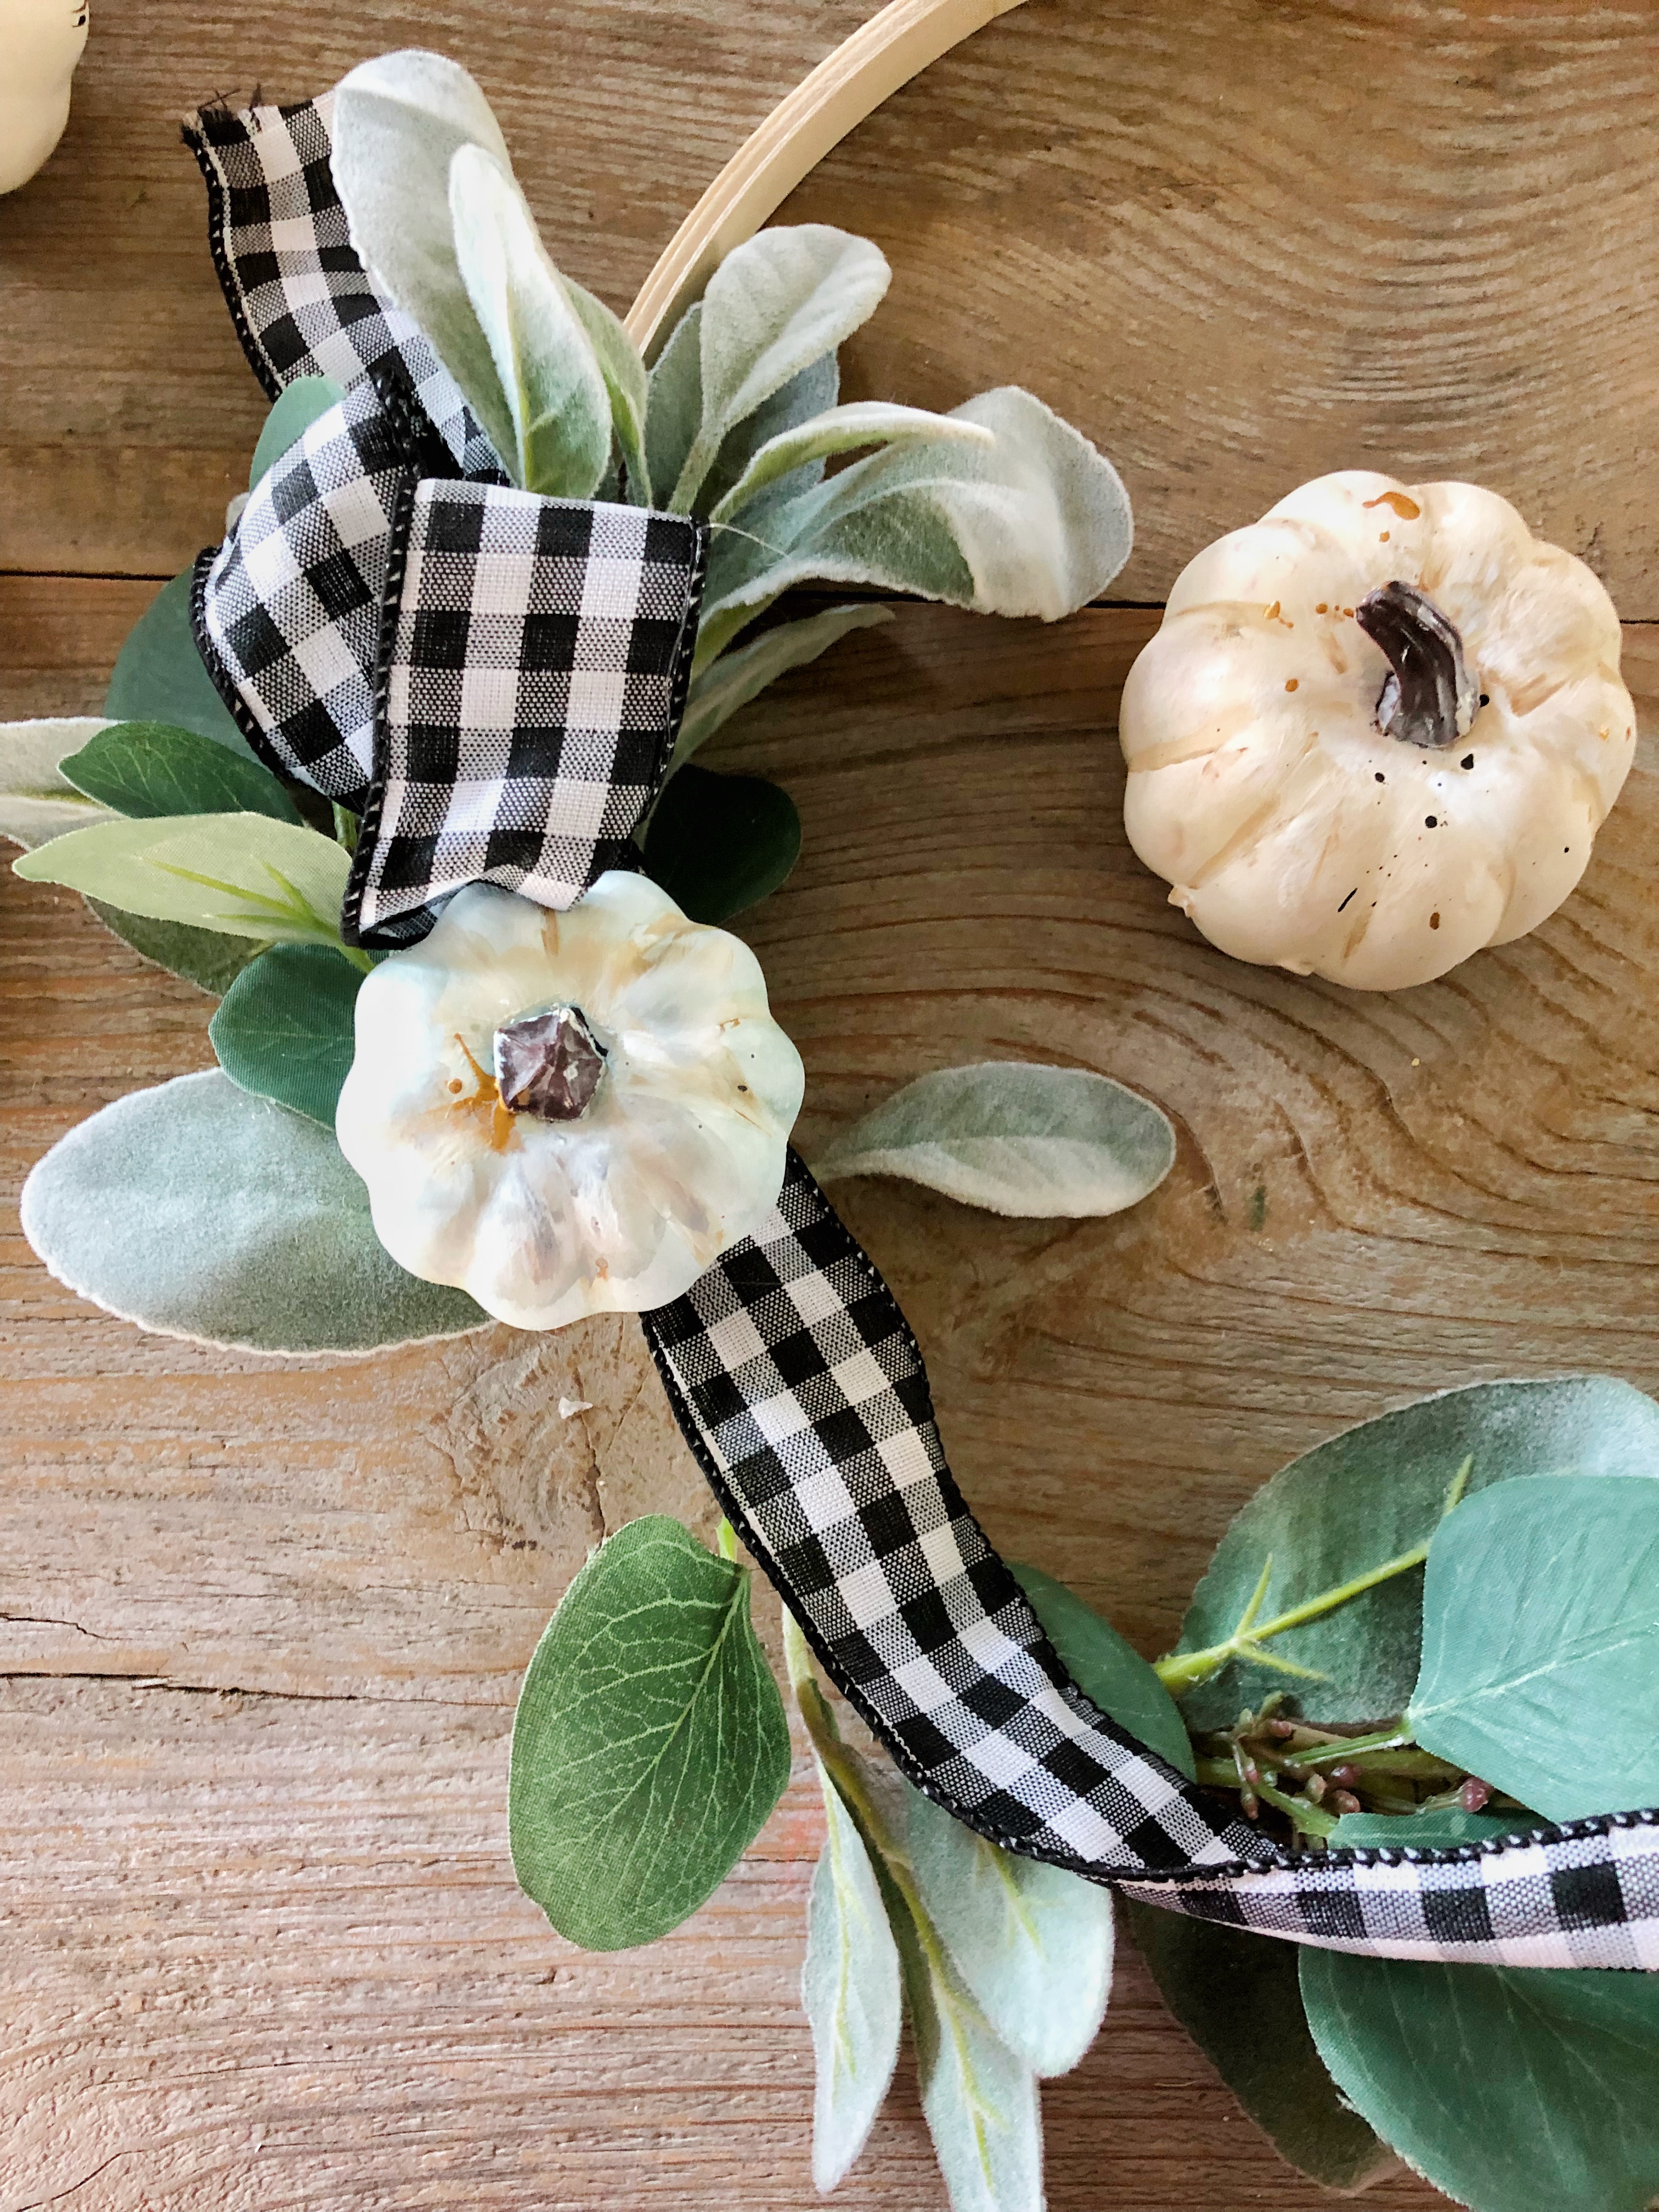
The next part is a little tricky so I grabbed my ribbon and pumpkins and did this process at the same time. Start by unrolling your ribbon and leave about a 4-inch tail on the end. Make a loop and then pinch the ribbon and attach it with the hot glue. Once cooled, make another loop and repeat the step. Once that is cooled, grab a pumpkin and place it on the ribbon next to the loops you just made. You may need to move it around a little to find the right spot. When you’re satisfied, grab your hot glue and attach it.

After this step I made another loop with my ribbon, just like the step above, and then added my second pumpkin. This is where I start getting impatient because it’s taking shape and I am always in a hurry to get it done and hung up.

Embellishments Are A Girl’s Best Friend
Now you’ve got your second pumpkin attached and repeat the steps above with your ribbon by making two more loops leaving a 4-inch tail on the end. BAM! The hardest part is O.V.E.R. This is where embellishments become your best friend. Grab your mini pinecones and embellish away. I only choose to use two, but that’s strictly up to you. Attach with your glue.
Project Complete…Or Is It

Great job you guys. Your project is complete…or is it? It is if you want it to be. I hung mine up and when I stood back and looked at it, I had an afterthought. If you’re loving the way this looks as is, and it is purdy darn cut, then leave it. Be done. If you want to take it a step further, this is where your craft paper and Sharpie come into play.

Cut a strip of craft paper 14 inches long and 2 1/2 inches wide. These measurements work with a 12-inch hoop so if yours is a different size, adjust the length accordingly. Pick a fall phrase. I chose “Happy Fall.” You could use “Gather” or “Welcome Fall” or “Happy Fall Y’all.” This is where you can get creative. With your black Sharpie, write it on your strip of Kraft paper. For a fun whimsy touch, I used my extra fine paint pen and added white dots to the bottom half of my letters.
Now, take the loop you didn’t use for your stems and pumpkins and lay your paper across the top at a slight angle and pull it tight and glue it to the outer side of your hoop on each side. Your paper will be long but that’s okay. Once the glue is dry, you will trim that off.
Finishing Touch

For the final and finishing touch, put your hoops back together and tighten it up as much as you can.
Hang
Step Back
Enjoy
Pat yourself on the back, Friends. You did it. Whoop Whoop. That was easy, wasn’t it? Thanks so much for stopping by. Be sure and tag me once yours is all done. I’d love to see them all. If you need any step clarified, leave any questions you have in my comments and make it a creative day. See you next week for another fun DIY.
XO

What a gorgeous job! I love the neutral feel with a pop of green and the contrast of the buffalo check really makes the whole wreath bright and light.
Kristi Bissell says
Thank you Patti! I appreciate your sweet comment. Thanks for stopping by!
I love all of these together. It’s a great wreath for Fall!!
Kristi Bissell says
Than you sweet Susan. I’m so glad you stopped by. It’s a great easy DIY for fall. Have a great day!
Lori Jo says
LOVE IT! I just reinvented my style to chic farmhouse with buffalo check! I will be using this wreath as Fall inspiration, so ready for that lovely cool season to get here. I like your site, Kristi, see you on the Facebook group 😀 <3 — I have a partial post on my blog about our farmhouse update 🙂
Lori Jo - 50 With Flair
http://www.50withflair.com
Kristi Bissell says
Hi Lori Jo ~
Yay, I’m so glad you stopped by my site. Gotta Loe some buffalo check, right? See you on the Facebook Flipside!
Well isn’t that cute! Love the buffalo check!
Kristi Bissell says
Pam, thank you so much. I am crushing on buffalo check EVERYTHING. I’m so glad you stopped by! Hope you have a spectacular day!
Great tutorial… love the little ‘banner’ you added. SO SMART! 😉 Pinned on my Fall Decor and DIY board!
Kristi Bissell says
Thanks so much Julie!!! You are the sweetest! Have a great day girl!
I love the finishing touch! It really added so much. I honestly thought you were through and was just about to pin the “last picture” when I realized… there’s more!
🙂 gwingal
Kristi Bissell says
LOL Thanks Nikki. Always a surprise at the end. I’m so glad you stopped by and thanks a bunch for the pin. Have a GREAT day my friend!
You were right, that last touch set it apart and made it pop. Great idea to use craft paper, I have tons of that!
Kristi Bissell says
Hi Pamela, Thanks so much for stopping by. I’m so glad you like the tutorial. I wanna see a pic if you try it!!! Have a great day!
So pretty! Although I thought it was lovely with the ribbon and pumpkins, your final embellishment really brought it to life!
Kristi Bissell says
Thank you so so much! I was glad I added the last embellishment. I’m so glad you stopped by!
This is such a pretty wreath, light and airy without the heavy look of traditional pumpkins.
Kristi Bissell says
Thanks so much Mary. It was such a fun and easy DIY to do. Have a great day!
Rosemary Palmer says
I love this. I have a few hoops and may give it a try. It’s nice I had a covered porch so I could use hot glue and didn’t have to worry about it. Have you seen the Ryobi glue gun - no cords.
Kristi Bissell says
Thanks so much Rosemary. Yes, having a covered porch is so nice to protect from the elements. It’s such an easy DIY, I hope you try!!! Have a great day!
This turned out so cute! I really like the embroidery hoop wreaths and haven’t tried one yet. Pinning and thanks for the inspiration.
Kristi Bissell says
Thanks so much Stacey. I’m so glad you stopped by. It’s so easy. I hope you try it. Have a great day friend.
Kristi! Cute fall wreath!!! Love how easy it was to make it… I need to make one this year. 🙂 Love the little pumpkins added on, too. Happily pinning to my Crafts and Sewing ~ Fall for you and our readers.
Thanks for a fun idea,
Hugs,
Barb 🙂
Maggie Dewar says
Love it…made it with my twist of colors!! Thank you!!
Kristi Bissell says
Hi Maggie! Oh, yeah. I’d love to see a picture of it. I bet it gorgeous!
Ann says
I love this! I am going to try something similar for my front door. Thank you!
Kristi Bissell says
Hi Ann. I’m so glad you like it. Yay!!!! Thanks. I’d love to see it when you’re finished.
Jordan says
This is such a pretty fall wreath! I love that little fall sign too…so creative! I featured it as part of my favorite fall wreath DIY round-up- if you’d like to check it out. Thanks so much for the inspiration!
Kristi Bissell says
Hi Jordan. You did? Thank you so very much. I will definitely go and check that out. You’re so sweet. Have a great day.